This project drew me in because it is a shop in an ice cream container. I had wanted to do one of those before. This type of project is one of my favorite things to make in miniature – A project in an everyday object.
The project was offered by KitKat Miniatures. Sadly, she is not offering them anymore. But there might be someone out there who still hasn’t finished theirs and maybe needs a few tips.
It’s been a while since I assembled much of this project. It has only been in the last month or so that I did the food. Most of the furniture was assembled last year. I took it on a mini vacation with friends who were doing craft projects. Each of us doing our own thing.
I attended Kathy’s class and got some done. However being on zooms when other people are working on the same project is very energizing. I did the container that way.
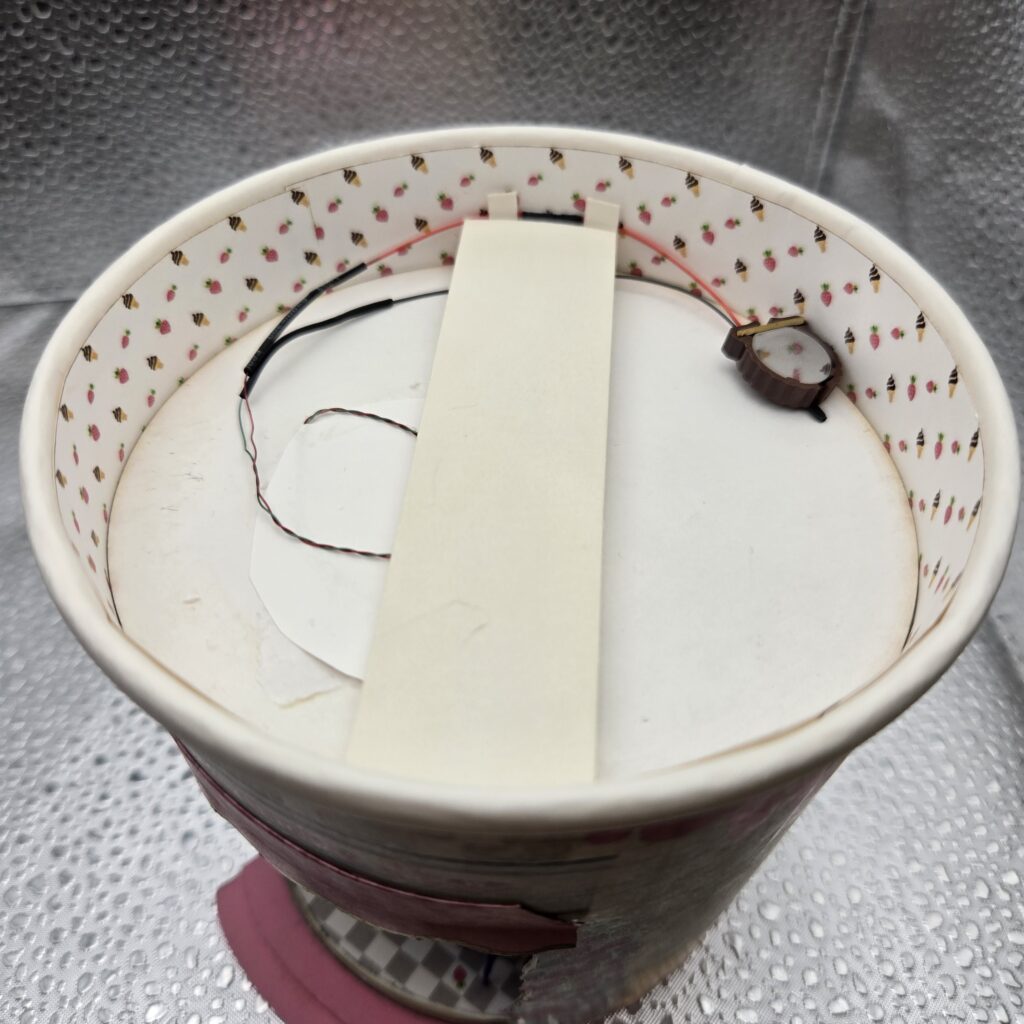
Kathy’s instructions are quite good. I loved that she included electric element. I wired up the ceiling fan and the excess wire on the top side, I glued under a piece of paper.
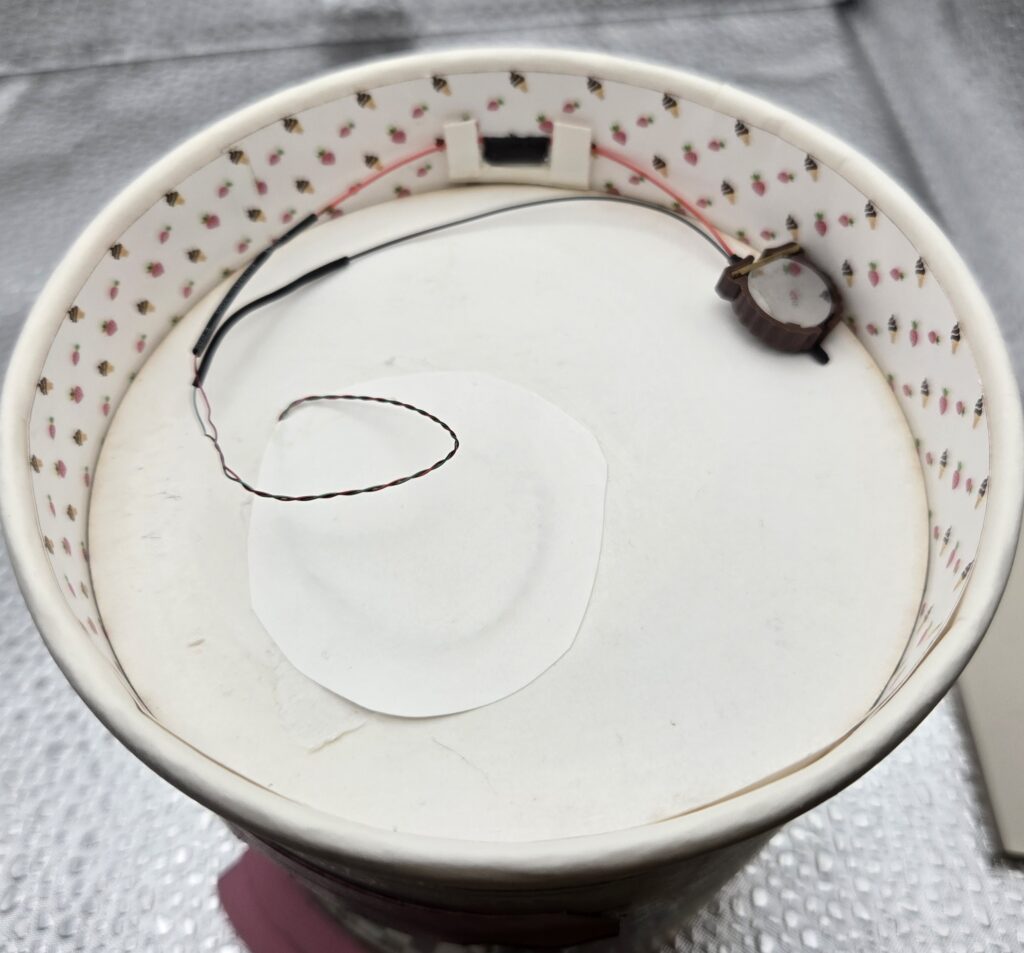
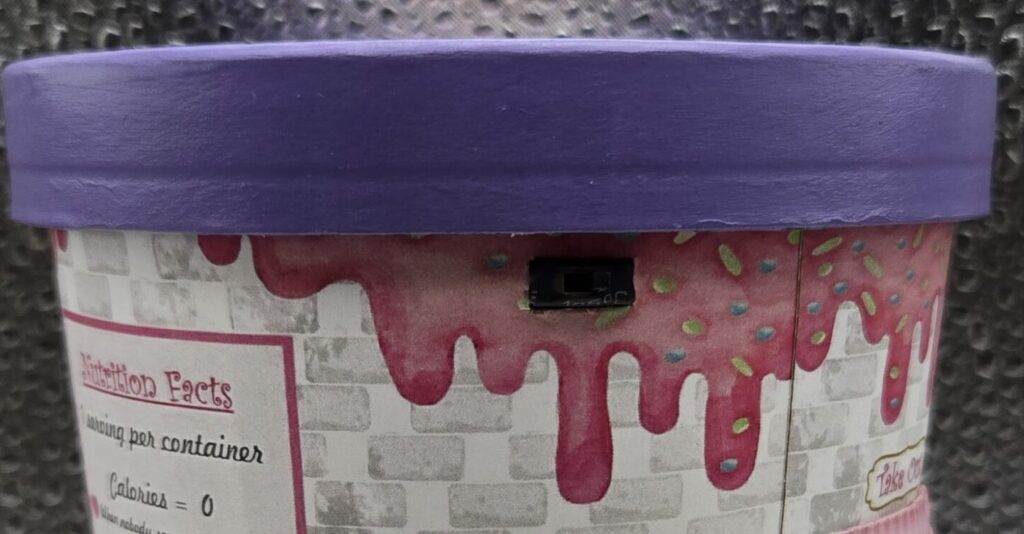
I decided the switch must be accessible from outside the lid. I cut a hole in the side that fit the switch. This hole is just below the lid.
Then I needed to come up with a way to hold it in place. I added tabs to hold the wires against the inside wall on either side of the switch. The wires just slide behind the tabs.
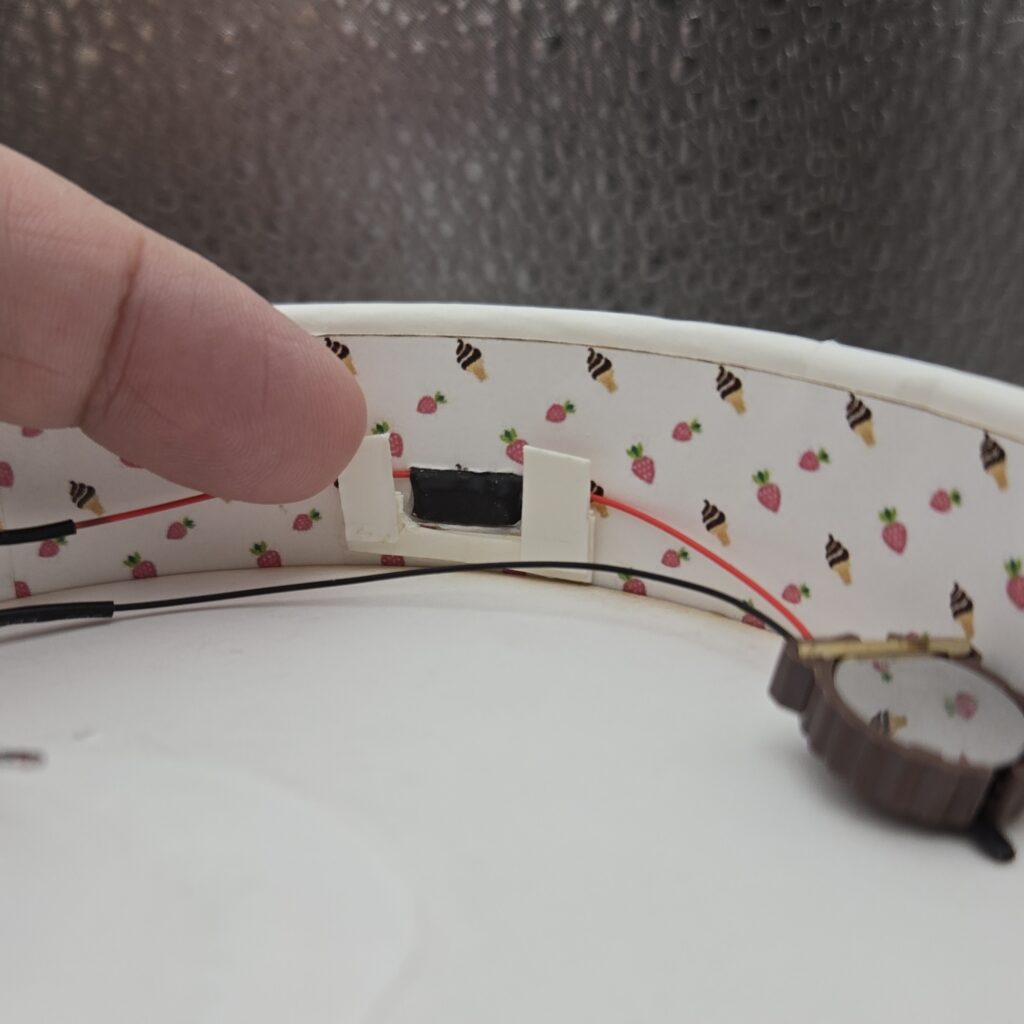
That was helpful. However moving the switch to turn on and off was not stable. I decided to add a piece of foam core that pushes against the switch and the opposite wall. It is not glued in place and won’t be so that the electric is easy to access, including removing the roof. Both ended were rounded so the piece is tight but not pushing out to make it not round.
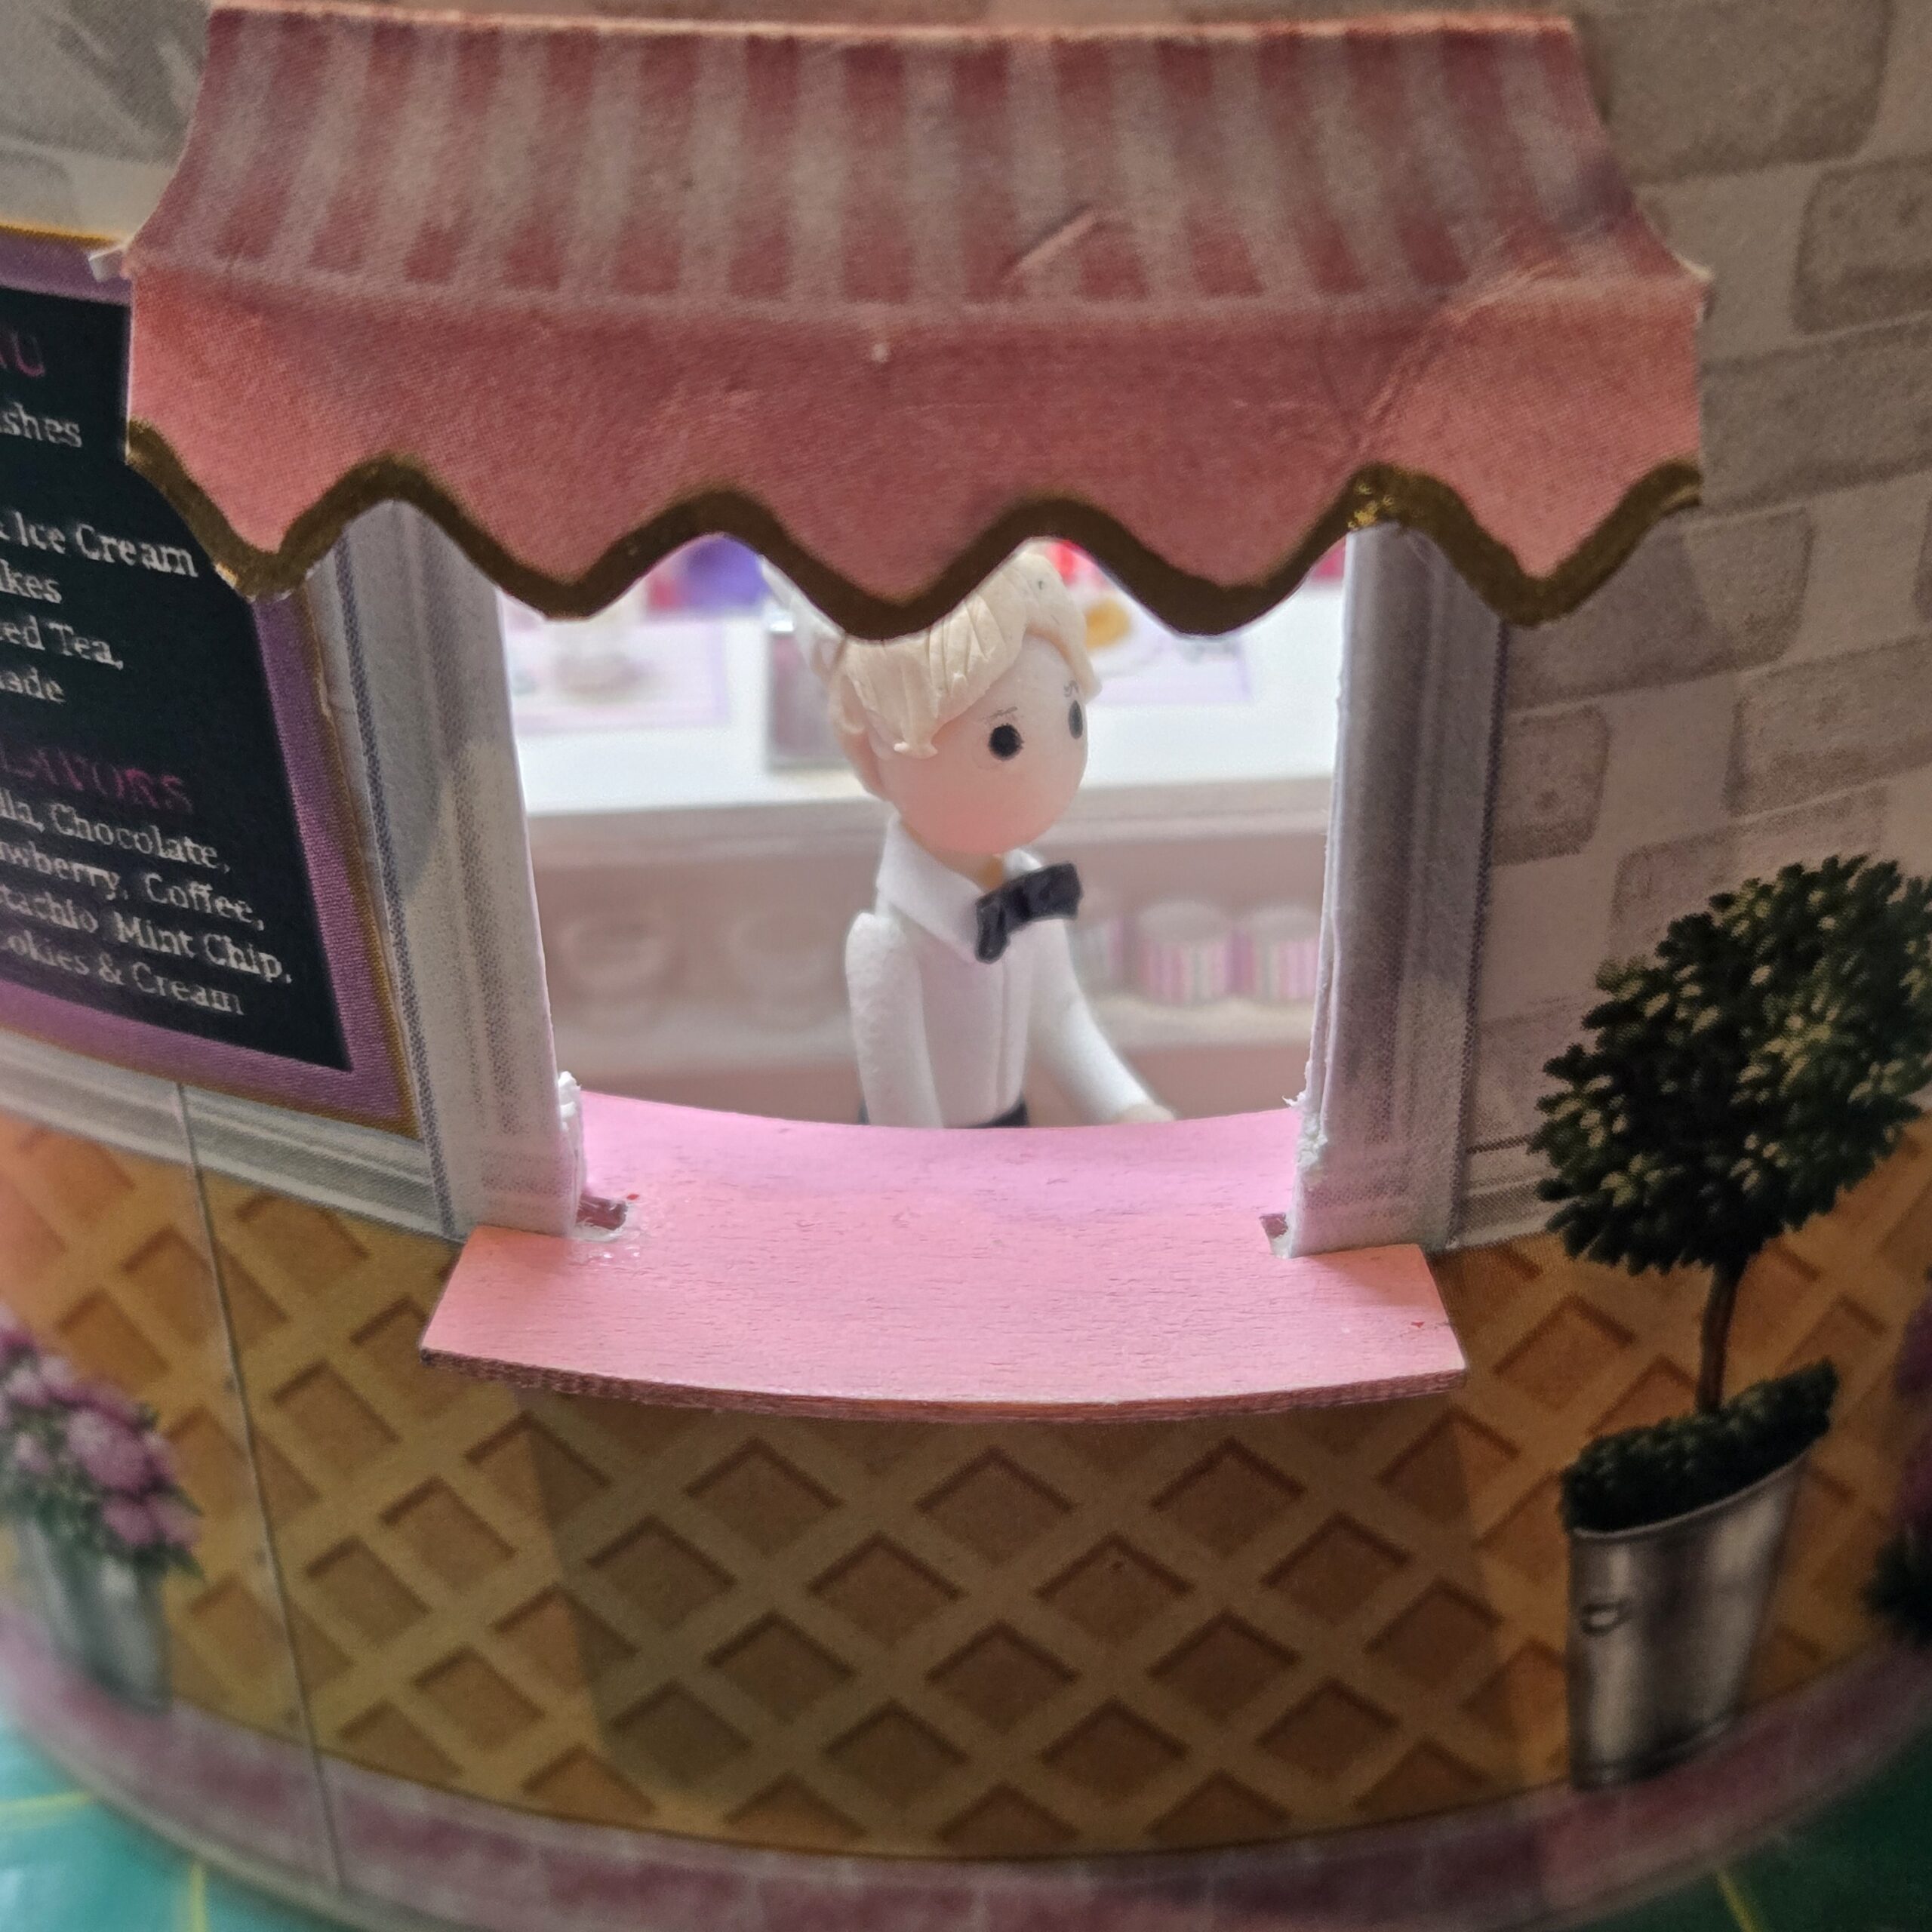
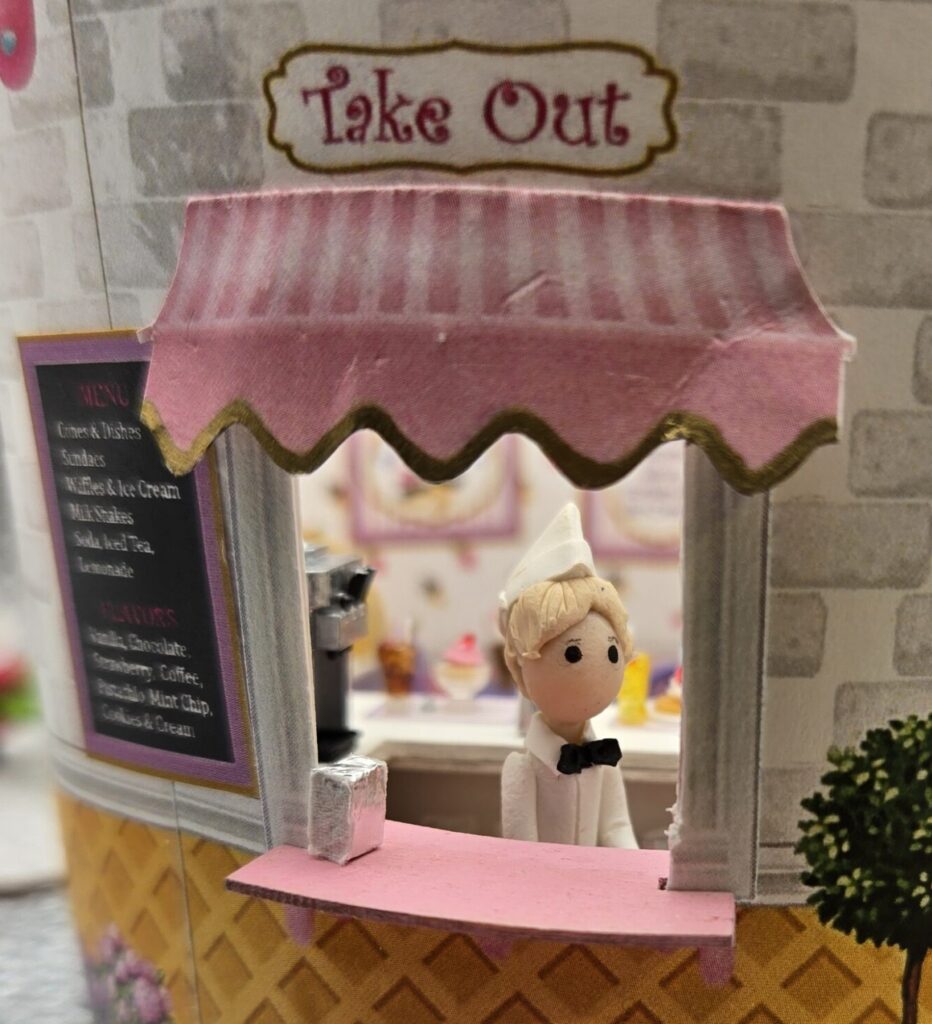
Another modification I made was to the Take Out window. It is high for the dolls that Pat made. I cut this down initially and made it too low. So I fixed that. Then after placing the soda jerk doll, I decided to cut it down, just not as much. I cut it to the horizontal trim on the outside.
Side steps that were provided didn’t allow the dolls to stand on the step in combination with the window counter. I added foam core pieces to make the steps deeper and one extra step. Although they still can’t but if they hung onto the counter they could.
The front opening is beautiful plants that I carefully trimmed around. I highly recommend patience and small sharp pointed scissors.
The awnings are printed and I did my best to make them curve and be dimensional. For the side one was easier I believe because it was narrower.
Accessories
The clear glass items are 3D resin printed. They have a frosty look. Kathy outlines how to make them clear, but I didn’t have the same materials available. Instead I used UV resin on the exteriors. That’s the kind that requires a UV lamp to cure. I have one that is for doing nails.
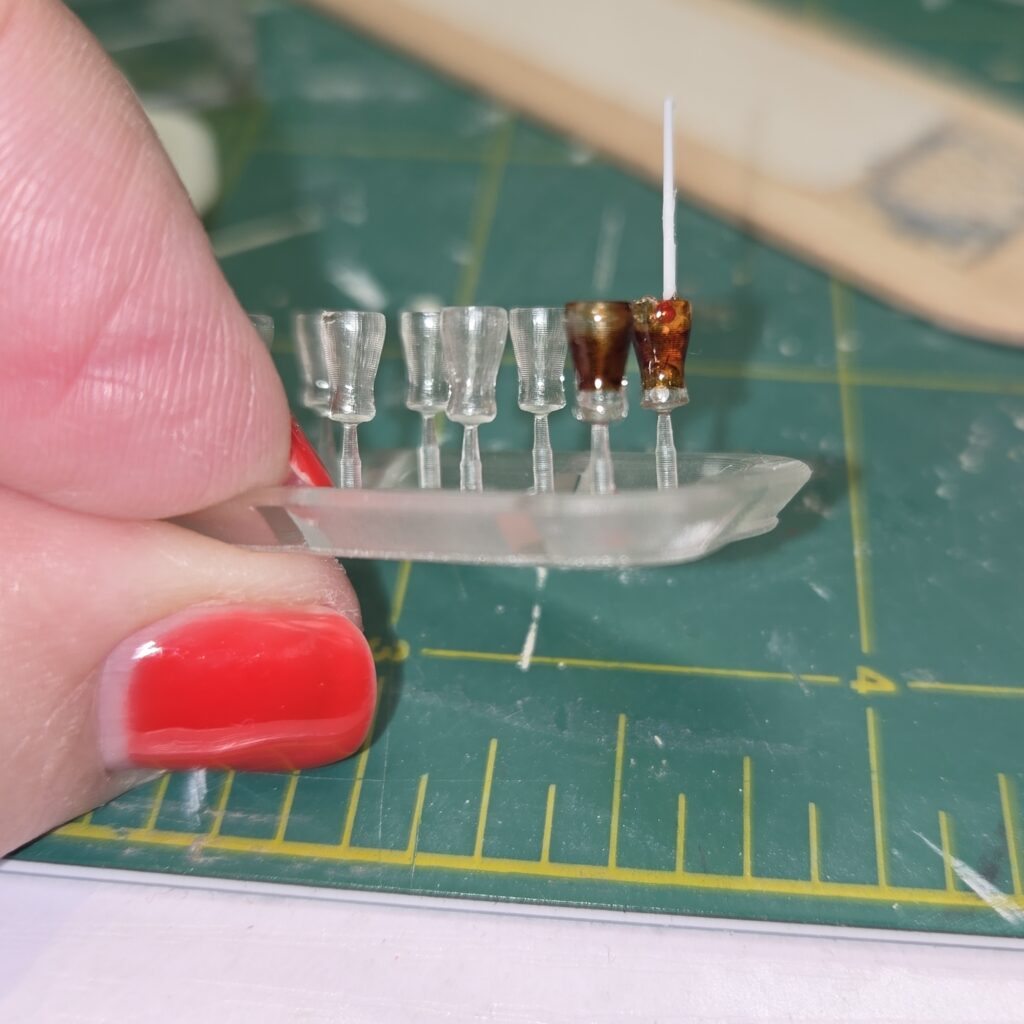
Compare the glasses vs the raft they are on.
For the blender and the soda fountain, I used a chrome marker we got a set on amazon.
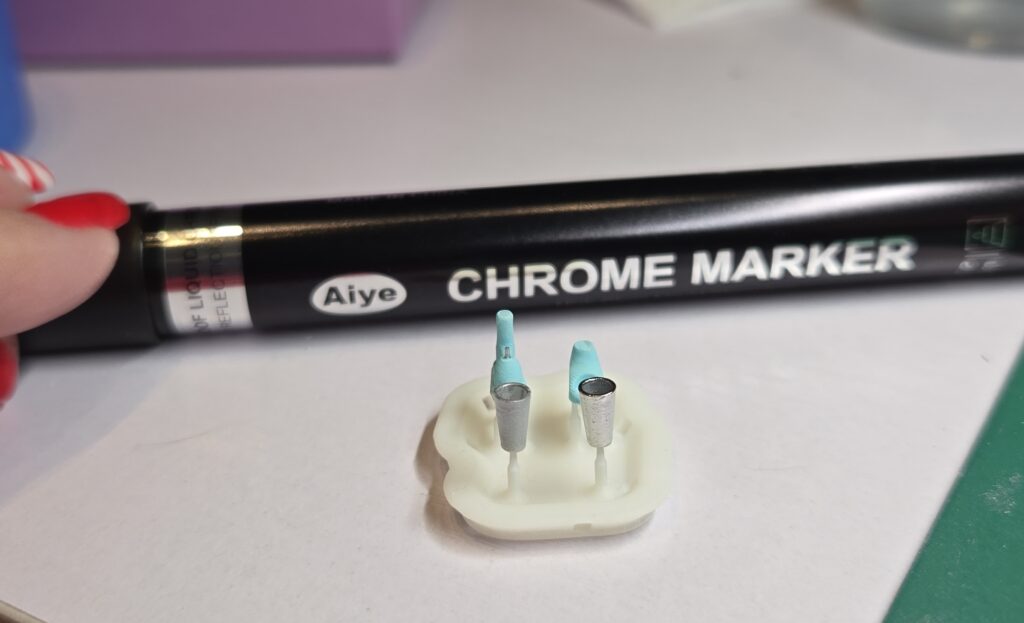
See the difference the marker vs a silver paint I had. I add the a gloss over the blue on the blender. Here’s the soda fountain.
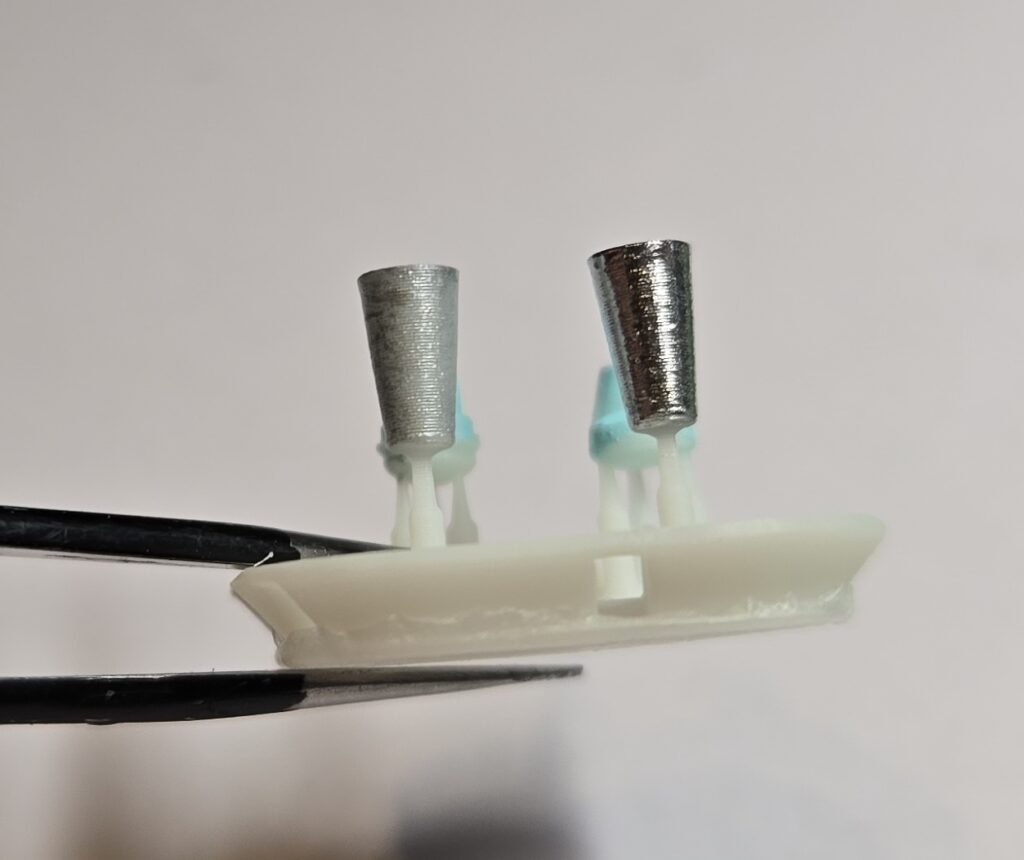
Opps! the Soda Jerk broke one of the levers the first day.
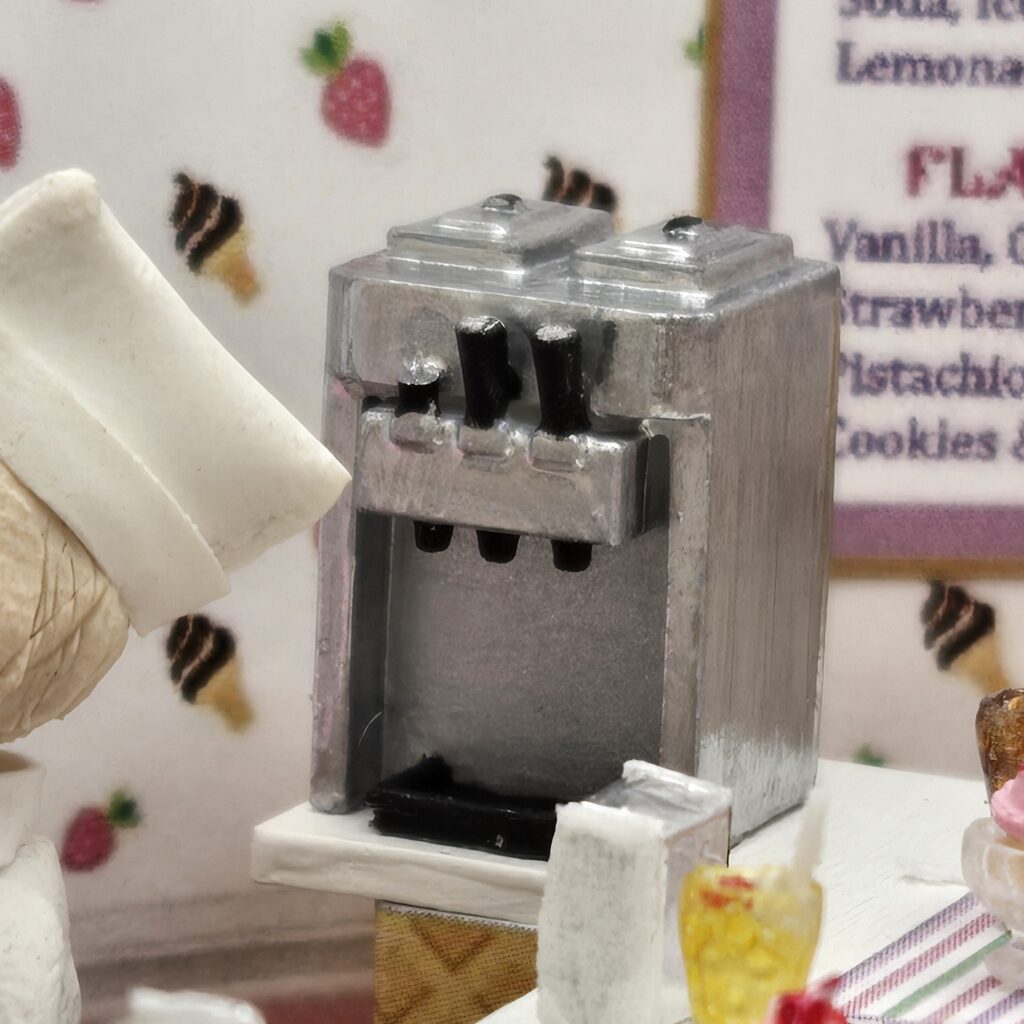
It was much harder to get a good solid coat of the chrome on this larger piece. The set did contain different tip sizes so that would help but not totally.
I really love this ice cream freezer. For the ice cream I used a material called Light and Fluffy. I colored it with paint and then carefully scooped into the buckets. It did shrink, some more than others which I suspect is due to having more paint added. But it was easy enough to fill in with more. although not too much later since I did mix these colors. If it was a custom color (two mixed together plus the fluffy), would be important to keep some mixed available for later after it dried.